It all started this year.
We’re rolling out a new, simplified version of Engati to make it simpler for you to build solutions that achieve your business goals.
We’ve created a brand new experience, considering every nibble and every byte to accommodate ease of use and convenience for all our customers.
Let's get started.
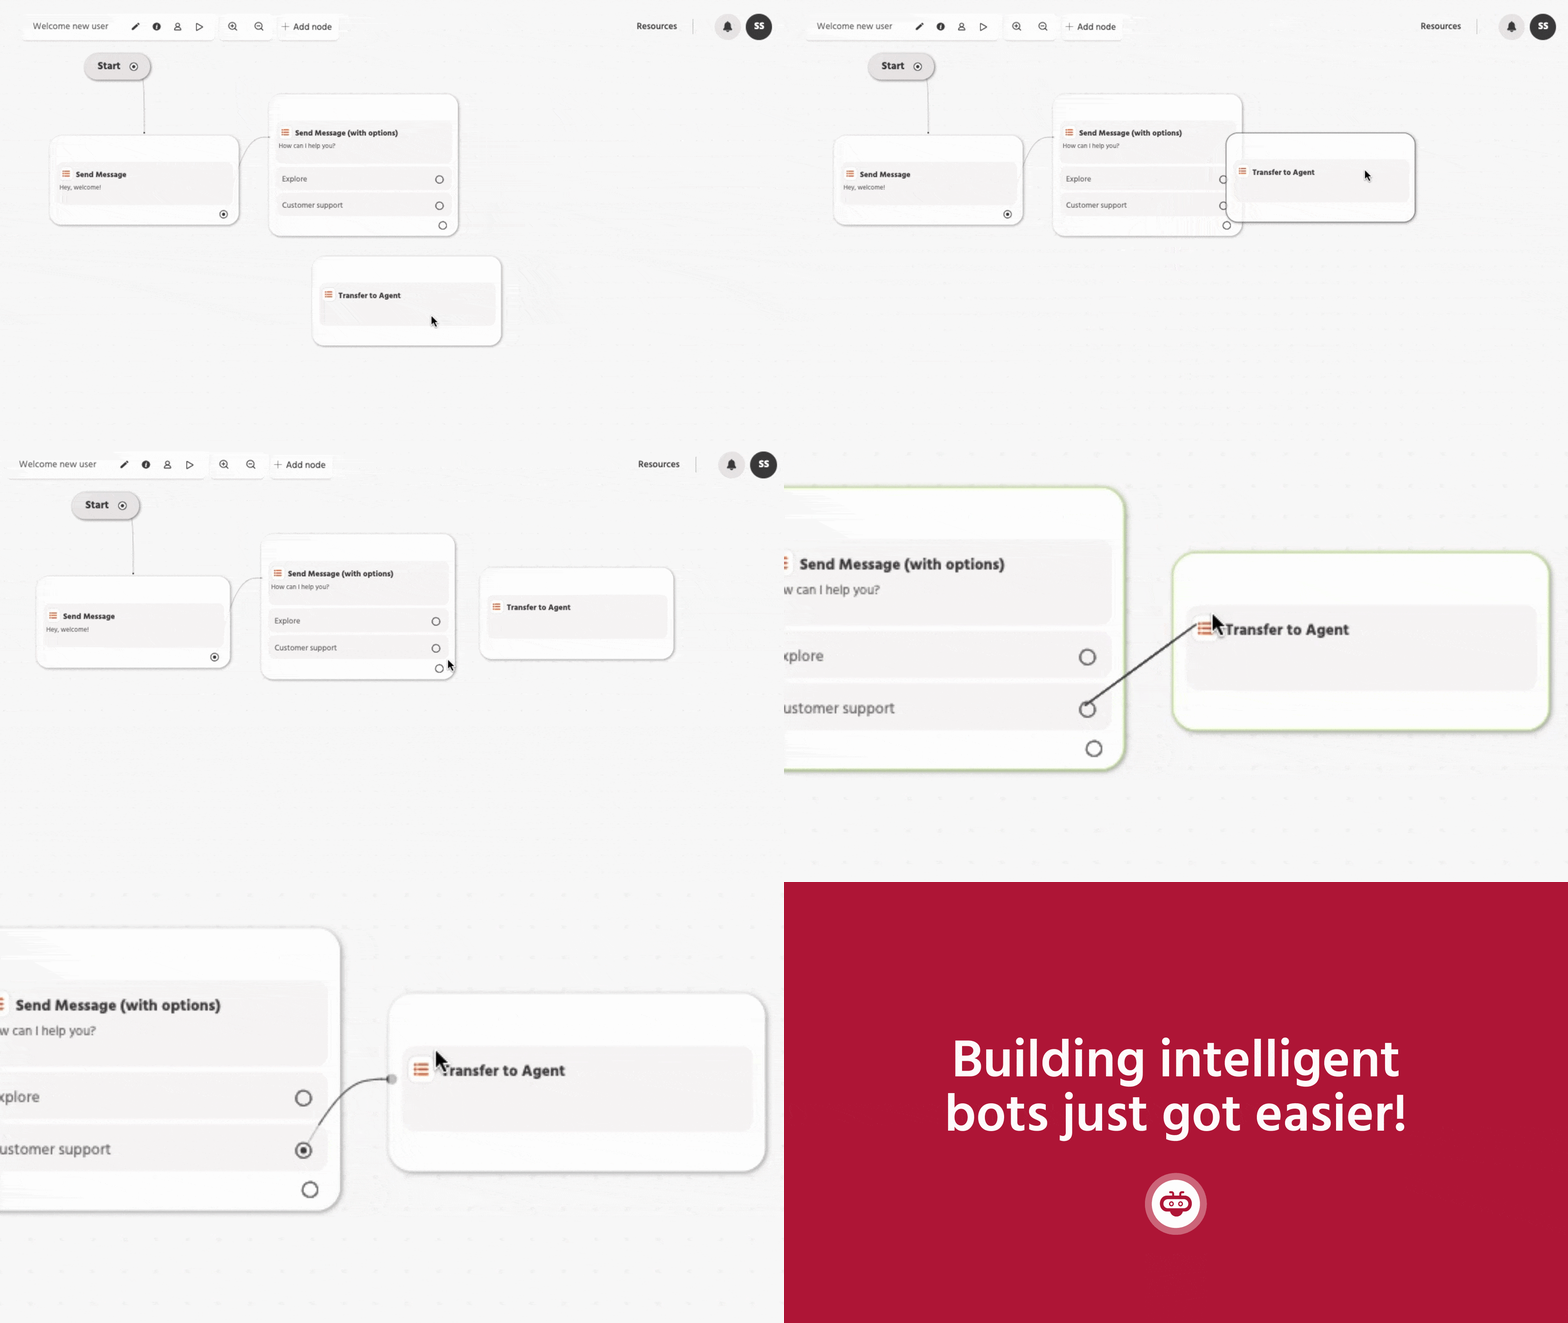
Navigation
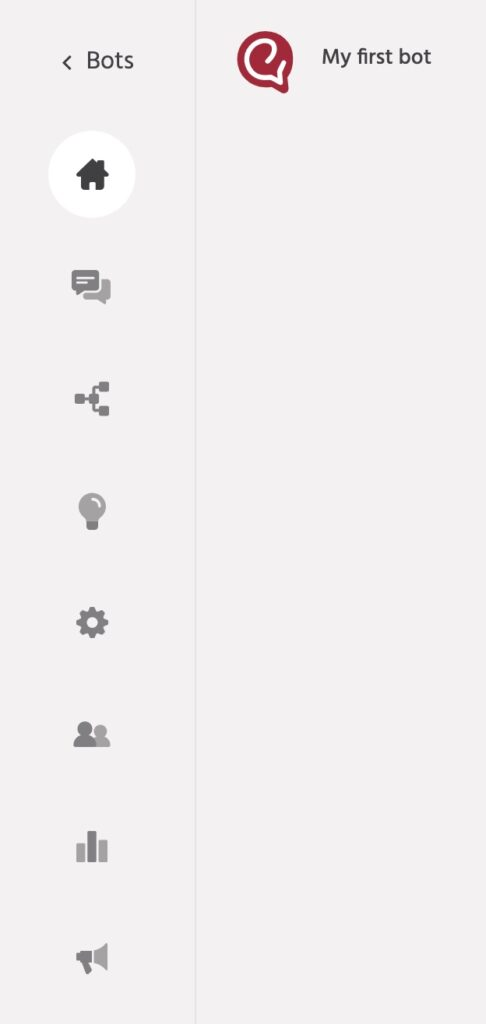
Bot-level Navigation
Clicking on the bot card on the home page navigates the portal user to the Bot overview page. A new set of menu items is now available on the left-hand side for navigating across multiple configurations of the bot. You can always navigate back to the Home page by clicking on the link at the top left – ‘< Bots’. The navigation order is as follows:
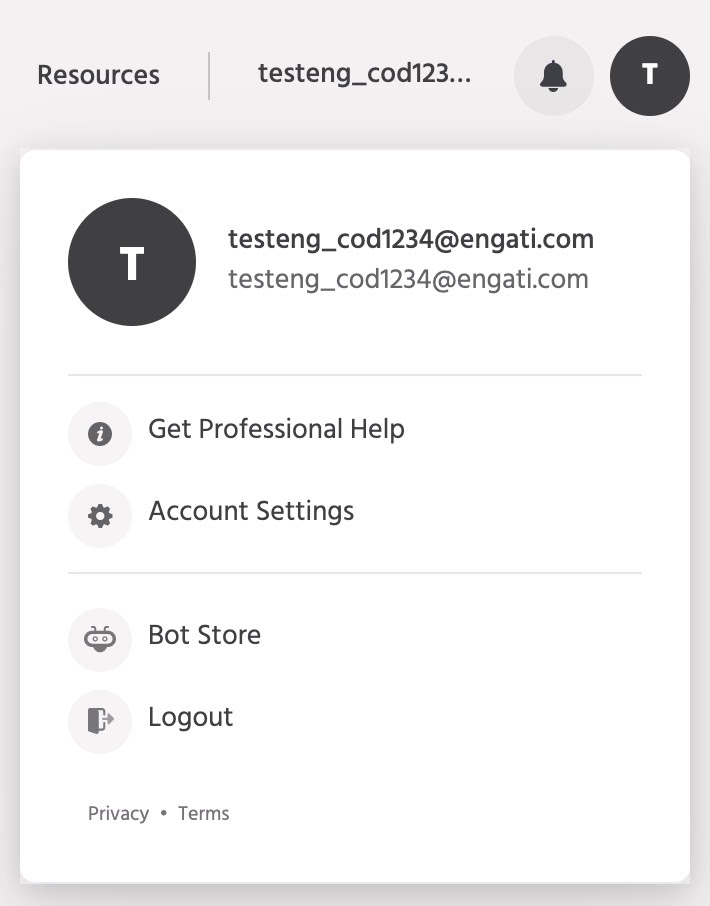
Account-level Navigation
Navigate to the top right and click on the profile icon to view the account level menu. This menu presents the option to view Account settings, Get Professional Help amongst others. You can also upgrade to a higher plan by navigating to Account settings.
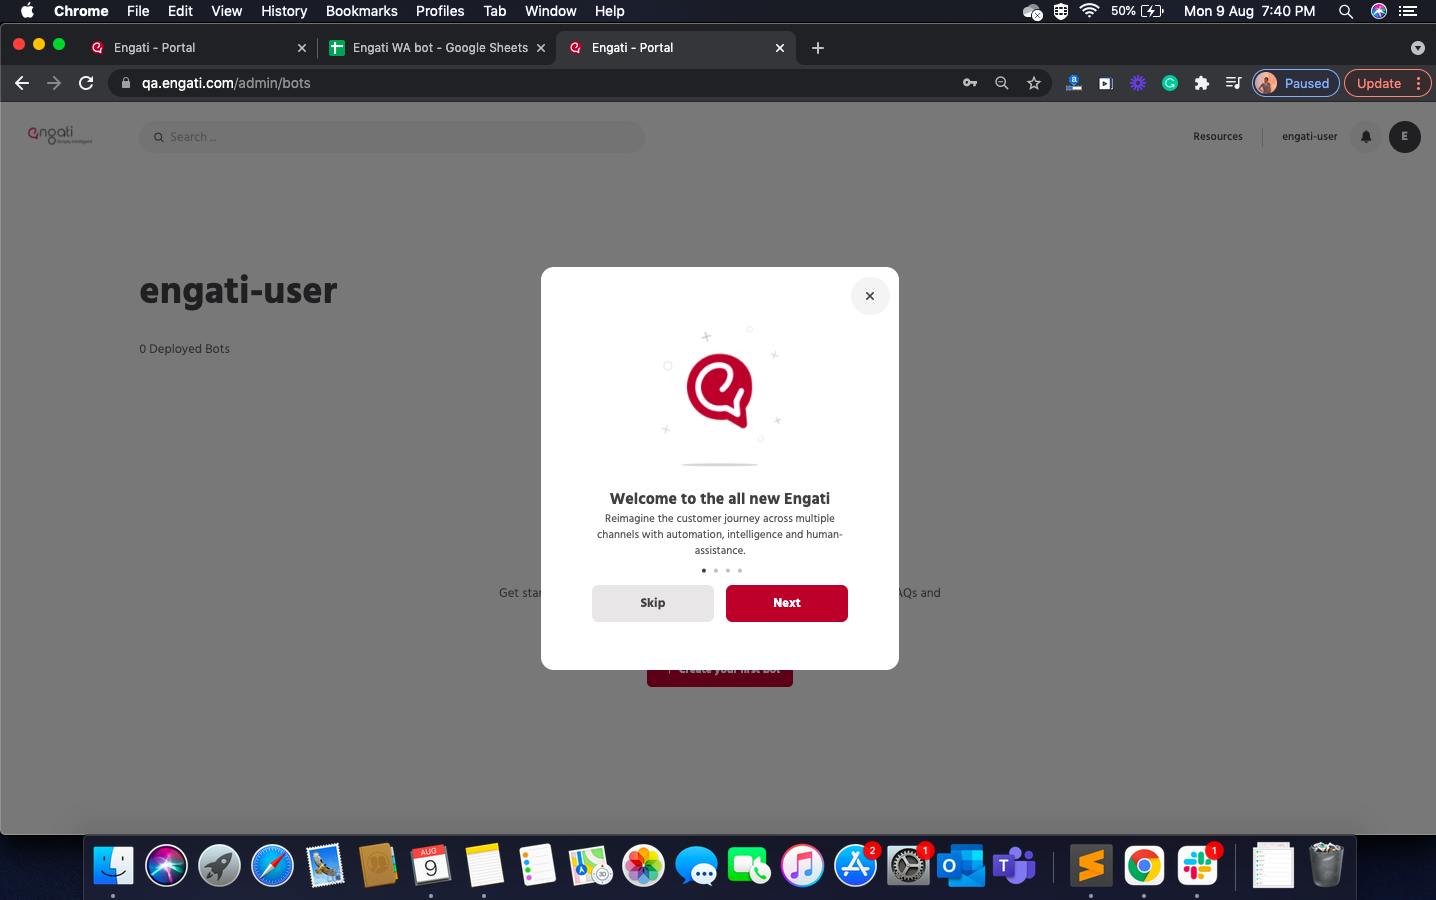
Getting started
Getting started just got easier. Set up your solution with our interactive wizard that guides you through the process.
Creating a bot
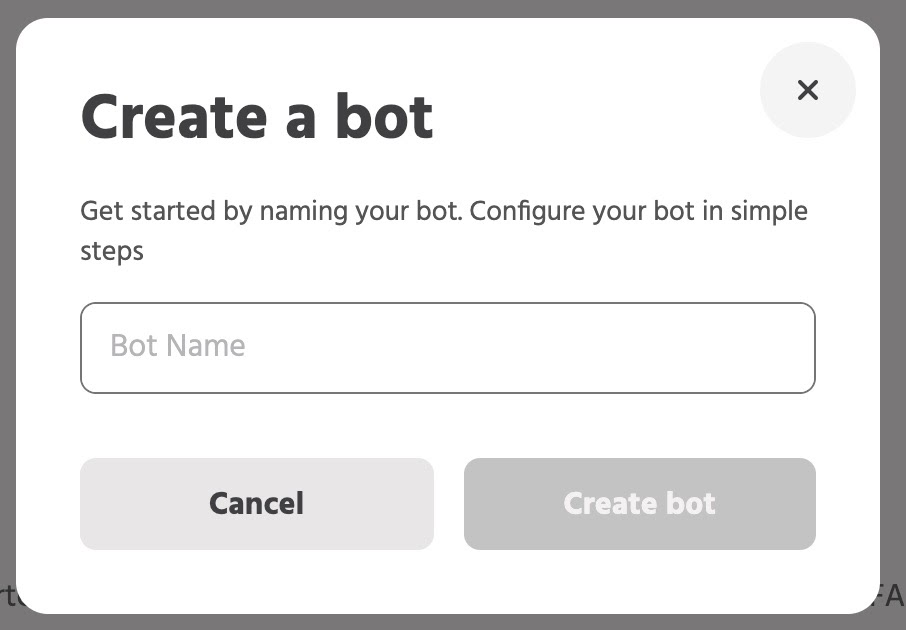
Clicking on the ‘Create your first bot’ button opens up a modal box – ‘Create bot’. Provide a bot name for reference and click on ‘Create bot’.
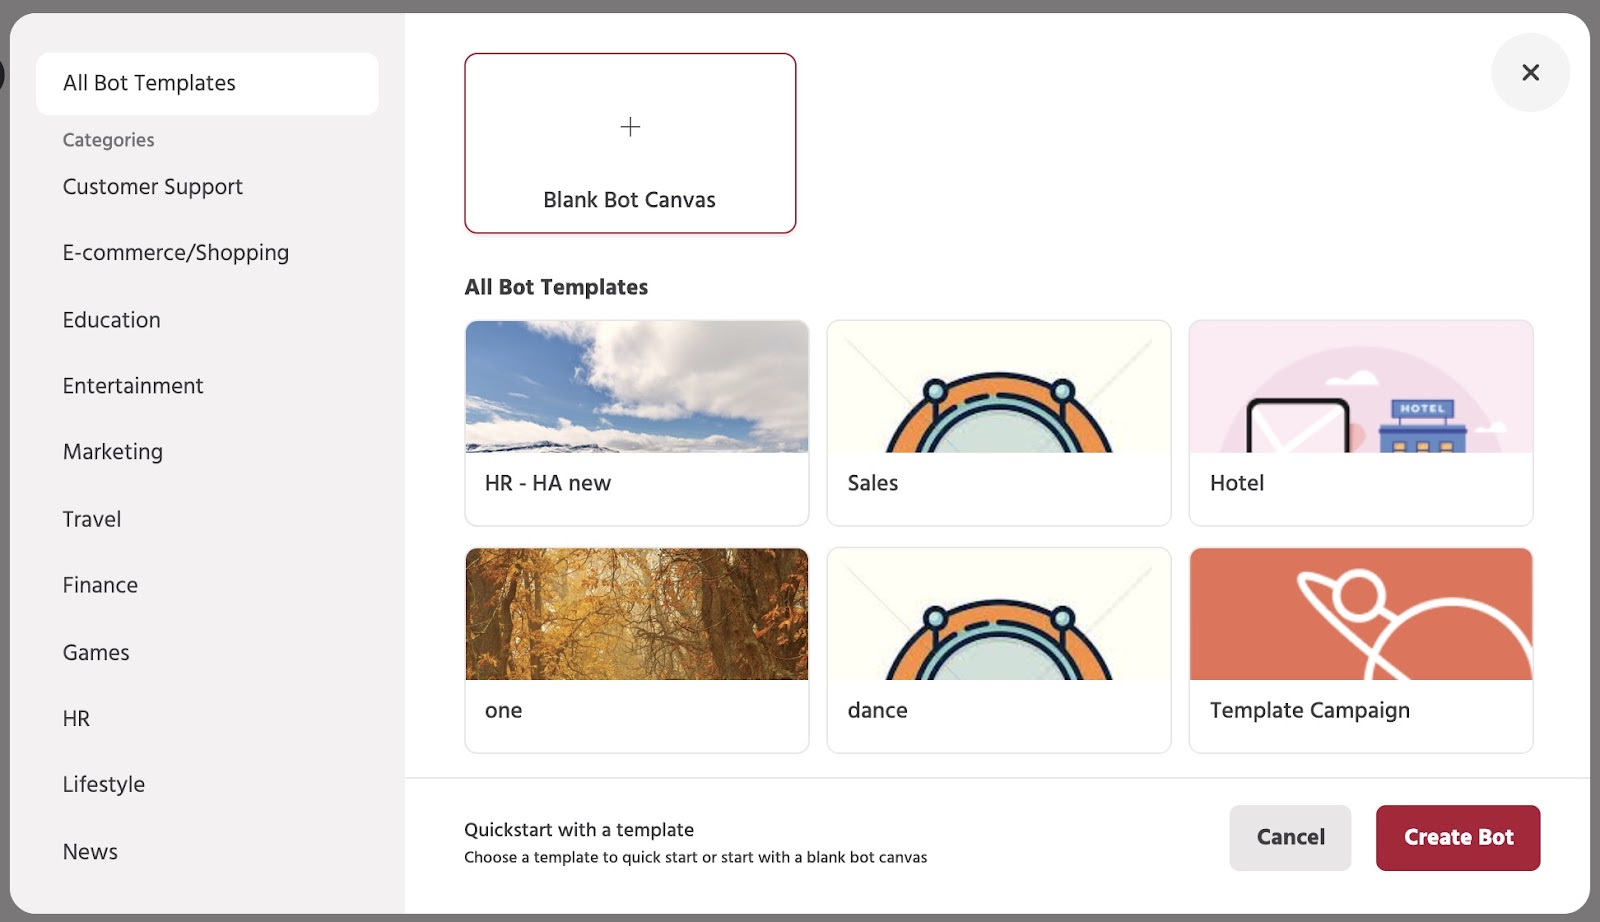
In the next step, multiple templates for the user journeys are displayed for selection. Pick one to kickstart your bot creation journey. If you are unsure or would like to start with a blank canvas start with ‘Blank Bot Canvas’ and click on ‘Create Bot’ to finalize the bot creation.
Customizing your bot
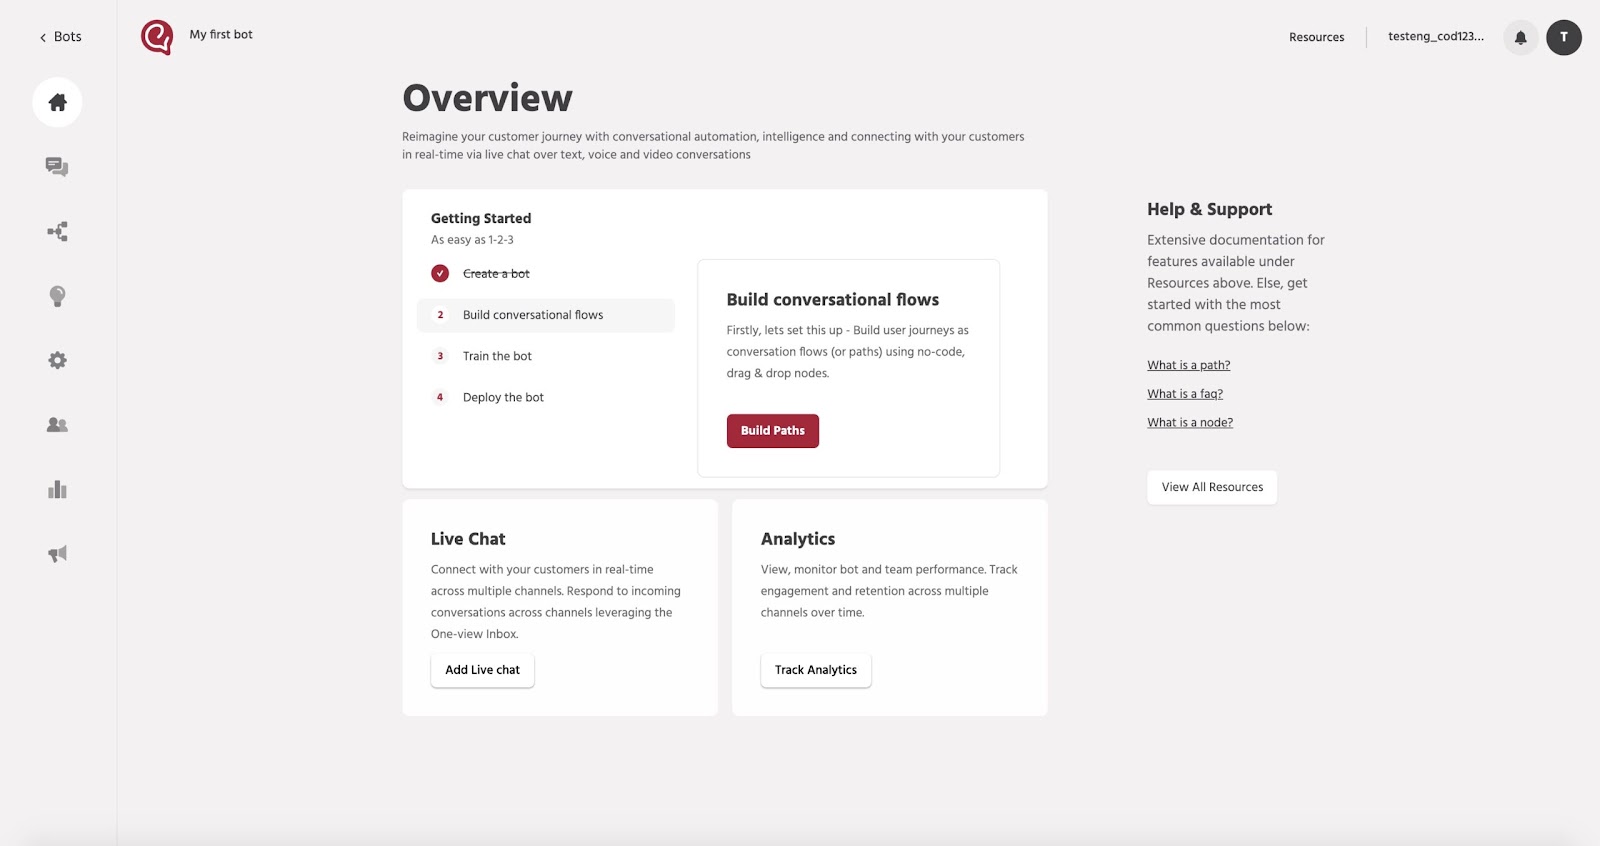
Once a bot has been created, you will be navigated to the Bot Overview page which provides guidance on the next steps. The remaining steps are as follows:
- Building conversational flows – Click on Build Paths or navigate to Build on the left nav menu to customize or create user journeys as paths
- Training the bot – Navigate to the Train section on the left nav menu to add FAQ, entities, and documents for cognitive search. The bot references the FAQ and documents as knowledge & responds to incoming user inquiries
- Deploying the bot – Build once and deploy across 15+ channels with a simple deployment process. Navigate to Configure > Deployment to deploy your bot.
Attribute management
Attributes are used to store data entered by the user during the conversation that can be later transferred or used in various use-cases.
User attributes can also be used as variables for storing data related to a path execution. For example – email or username of a chatbot user, items ordered, quantity and delivery address for a pizza ordering bot and so on.
A user can perform the following functions for attributes.

Edit Attribute: This allows you to change the name of the attribute and the validation message.
Check Reference: This displays the nodes in the chatbot where this attribute is being used.
Check History: This will fetch the list of changes done to the particular attribute with timestamp and the moderator.
Delete Attribute: You can delete a particular attribute and it will reflect in the Deleted Section.
Add Attribute: You can introduce a new attribute for your product by this option, you can configure the type and validation message of the attribute.

Download : This option enables you to download data of your attributes and its type with other related data that can be used for auditing purposes by various organisations.
Build your bot as you would in your systems
The Modern theme now supports dark mode to ensure you have a more enjoyable experience during those late nights.
Make the switch to the Modern theme and experience these features today!


